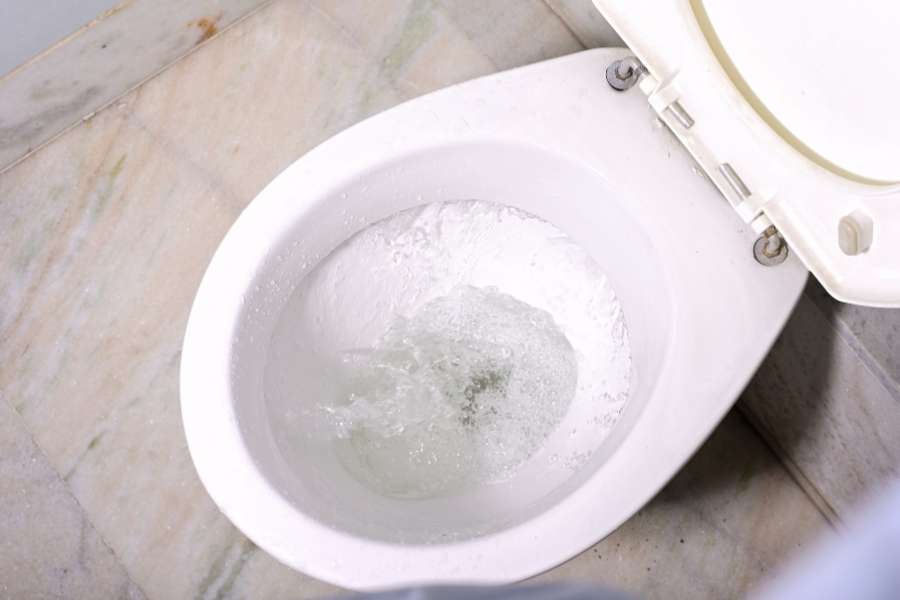
That faint hissing noise from your bathroom is not just annoying. A continuous toilet running quietly drains your wallet every single hour. Clean water slips straight down the drain without you noticing.
According to the Environmental Protection Agency, a household leak wastes immense amounts of water daily. Fixing it takes ten minutes, basic tools, and simple steps. Let us open the lid and solve this problem right now.
What Causes That Constant Water Sound in Your Bathroom
Every standard bathroom relies on simple gravity to move water cleanly. A smooth cycle depends on balanced parts working together quietly. When one piece sticks or cracks, water never stops moving. Improving your fixtures often starts with a quick new shower head DIY install project to upgrade overall water efficiency. Taking care of small bathroom repairs prevents excessive water waste across your entire home.
You do not need special plumbing skills to understand this mechanism. Taking a quick look inside will give you total control over the fix. This basic knowledge helps you keep your home functioning smoothly without stress.
The Everyday Action Inside Your Porcelain Reservoir
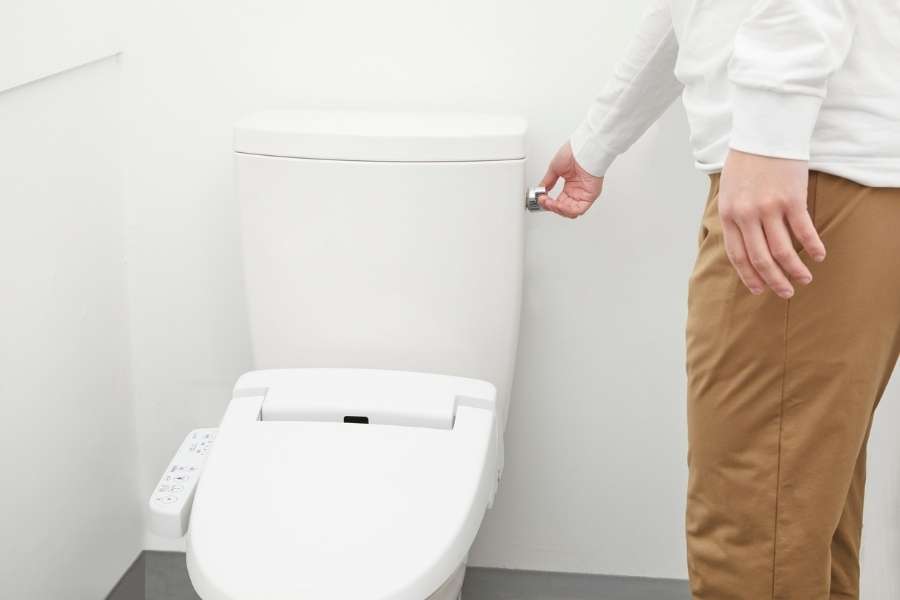
Pushing the handle lifts a seal and releases the water. The upper reservoir empties rapidly into the bottom area. A dedicated tank holds the entire supply needed for each cycle. Fresh water enters quickly through a narrow supply line. A float rises on the surface to measure volume. When parts wear out, the refilling process never shuts off completely.
The True Reason Why Water Runs into the Bowl
Water should sit still once the refilling cycle ends. When water trickles across the ceramic, an internal seal is failing. Homeowners often ask why water runs into the bowl unexpectedly. A deteriorated rubber disc at the base causes this issue. Water escapes quietly under the unsealed edge all day long. That steady loss forces the system to run repeatedly.
Checking the Main Parts Causing Your Water Leak
Finding the exact failure point requires only a quick visual test. You can spot the broken component in less than two minutes. Taking charge of basic plumbing repairs pairs well with other creative top 5 DIY home decor projects for beginners around the house. Upgrading your living space gives you confidence to tackle everyday maintenance tasks easily.
Watch the parts move as the water rises. This simple inspection prevents you from replacing parts that still work well. You save both time and money by pinpointing the true source of trouble.
A Deteriorated or Warped Rubber Drain Disc
The round stopper at the base acts as a gatekeeper. Over time, chemicals and hard minerals break down this rubber piece. A damaged flapper can no longer seal the drain opening tightly. Press down lightly on the disc with your finger. If the hissing sound stops immediately, you found your leak. Replacing this cheap component takes only a few minutes.
Checking the Flush Arm and Connecting Metal Chain
A simple metal chain connects your handle arm to the stopper. If that link is too tight, the rubber cannot close. If the chain is too loose, it jams underneath the opening. A good flush needs just a little chain slack to operate. You want about half an inch of gentle movement on the link. Adjust the metal clip until the rubber drops flat every time.
Quick Steps to Fix a Running Toilet Flush
You do not need heavy pipe wrenches for this basic repair. A flathead screwdriver and an old towel are all you need. Work through these straightforward steps in order. Take your time, stay patient, and test the movement after each change.
Step 1: Turn the Water Valve Off
Find the oval metal handle near your bathroom floor. Turn the metal handle clockwise until it stops moving completely. This step prevents water from spraying while you work. Push down on the handle to drain the upper reservoir. Hold the handle down until most liquid drains away. Wipe up the small pool left behind with your rag.
Step 2: Clean the Drain Seat and Put in New Rubber
Feel the round rim where the rubber disc sits. Calcium scale makes this smooth plastic edge feel rough like sand. Scrub the plastic rim clean using a little white vinegar. Take off the old rubber disc from the vertical pipe clips. Snap your new replacement disc securely into place right away. You can fix a running toilet flush with this single swap.
Step 3: Turn Water Back On to Stop a Toilet Leak Noise
Turn the wall valve counterclockwise to restore water flow again. Listen carefully as the reservoir fills back up with water. This simple step helps stop a toilet leak noise quickly. Watch the water level rise smoothly inside the upper chamber. If the hissing noise stops, your seal is working properly. If hissing continues, you need to adjust the incoming level.
Resetting the Height on Your Float Arm
The water surface should rest one inch below the overflow tube. If water spills into that tube, your intake never stops. Fixing this level takes one turn of a common screwdriver. Modern reservoirs use a plastic cylinder instead of an old brass ball. Setting the height correctly saves gallons of water every single day.
The Best Way to Adjust the Toilet Float
Find the long plastic adjustment screw on the tall tower. This screw sets the final shutoff point for the liquid. You can adjust the toilet float by turning this screw counterclockwise. Turning the screw lowers the final height of the water line. Flush once and let the reservoir refill to the top. Make sure the water stops before reaching the overflow rim.
Clearing Grit Out of Your Fill Assembly
Tiny bits of sand or rust can enter your pipes. Grit gets stuck inside the small rubber intake diaphragm easily. A dirty intake valve keeps hissing even when the float rises high. Unclip the plastic top cap carefully to expose the internal seal. Hold a plastic cup upside down over the open pipe top. Turn water on for two seconds to blast out trapped dirt.
Checking the Water Level in Your Ceramic Bowl
Look down inside the lower ceramic basin after testing your repair. The water surface should remain perfectly flat and mirror still. Clear water in the bowl confirms a tight seal above. If ripples appear on the surface, clean the drain rim again. A still water surface means your repair was a total success. You can now put the porcelain lid back in place.
Solving Hidden Leaks Inside Older Commode Tanks
Most common issues disappear after changing the stopper or resetting heights. Yet older hardware can hide small cracks along internal plastic seams. Spotting these hidden problems prevents wasted hours of guesswork. Check these secondary points if water continues to move after adjustments. A quick inspection helps you choose your next steps wisely.
Inspecting the Vertical Overflow Tube for Cracks
The vertical plastic tube protects your bathroom floor from accidental overflows. However, old plastic becomes brittle after years of chemical contact. A hidden leak along that tube lets water drain away unseen. Dry the plastic tube completely with a clean paper towel. Watch closely for water seeping through hairline cracks along the seam. If plastic cracks leak water, replace the entire center tube.
How to Use the Color Drop Test for Leaks
Plumbers use liquid food coloring to catch invisible water movement fast. This quick test requires zero tools and reveals leaks within minutes. You can test your plumbing right now with grocery store dye. Place five drops of dark food coloring inside the upper water. Leave the bathroom and avoid flushing for twenty minutes. Check the lower basin for any signs of colored water. If color appears below, your bottom stopper is still leaking. Clear basin water means the lower stopper holds a tight seal.
Why Long-Term Fixture Care Matters
Taking care of your fixtures prevents unexpected plumbing emergencies later. Regular checks keep internal parts flexible and free of heavy limescale. A quick five-minute inspection every year protects your home easily. Avoid using chemical drop-in tablets inside the upper ceramic chamber. Strong bleach breaks down flexible rubber gaskets and hardens plastic clips. Clean the ceramic basin directly with mild liquid soap instead. Check the metal supply hose connecting the wall to the reservoir. Look for damp spots, corrosion, or green build-up on fittings. Replacing old supply hoses keeps your bathroom dry and completely safe.
Frequently Asked Questions
Why does my commode turn on by itself for a few seconds?
This is called phantom flushing and happens when stored water slowly drains away. The dropping water level triggers the intake assembly to refill the reservoir briefly.
Can a minor plumbing leak increase my utility bill?
Yes, an untreated leak can waste hundreds of gallons of clean water monthly. That continuous waste can add significant costs to your regular utility statement.
How often should I replace the rubber drain flapper?
Most rubber stoppers last roughly four to five years under regular use. Hard water minerals and harsh cleaning chemicals make rubber stiff much sooner.