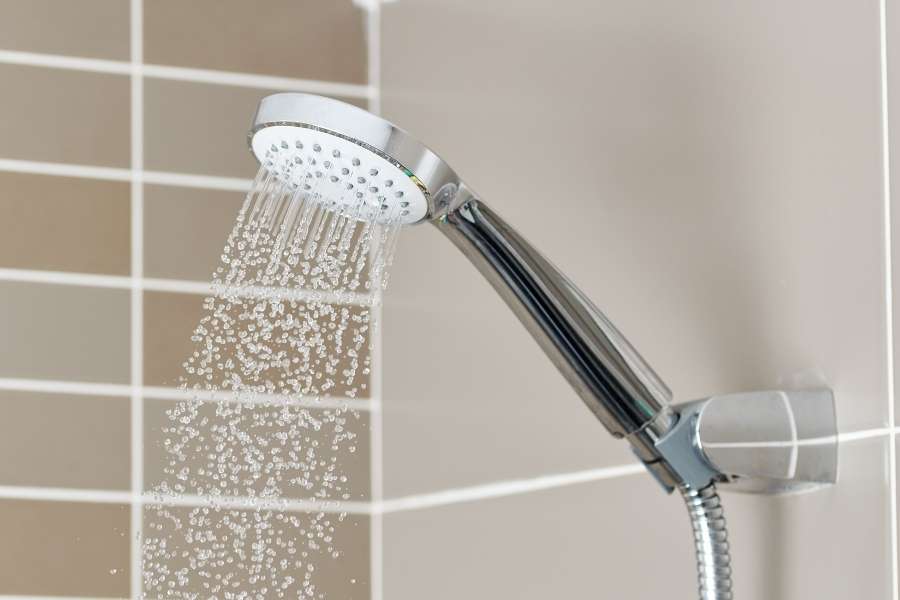
Stepping into a weak shower stream ruins your morning fast. Upgrading to a new shower head fixes this annoying daily problem in minutes. You do not need a costly plumber for a basic bathroom upgrade. Grab a few basic tools and follow this straightforward guide to get started.
Easy Steps for a Better Shower Experience
Swapping out old bathroom fixtures is surprisingly simple. You can easily complete this simple plumbing installation without professional help. Understanding how your pipe connects gives you instant confidence. The threads on your wall pipe screw directly into the new fixture. If you enjoy simple upgrades, explore these top 5 DIY home decor projects for beginners to continue improving your living space today.
Essential Tools You Will Need
Gather your basic tools before starting the project. You only need an adjustable wrench and some thread sealing tape. Having these simple items ready keeps your work quick and smooth. Keep a soft cleaning rag nearby to wipe down dirty parts and protect polished chrome surfaces from scratches.
Choosing Your Next Fixture
Pick a style that fits your space and daily routine. Handheld options offer flexibility for cleaning and washing pets. Always check your pipe size before buying replacement parts. Most home plumbing uses standard sizes for easy swapping. Consider your home water pressure needs before making a final choice. Some modern units boost spray force while saving water.
How to Replace an Old Shower Head Easily
Removing an old fixture can seem tricky at first glance. Hard water buildup often locks old pipe connections tightly together. Bracing the wall pipe prevents damage to your home plumbing. Hold the pipe firm with one hand while turning the unit. Tackling fun DIY projects to enhance your home builds great skills while saving money on expensive repairs.
Removing the Old Unit Safely
Wrap a cloth around the connecting nut to prevent scratches. Use your adjustable wrench to turn the nut counterclockwise. Once the nut loosens, unscrew the rest using your hands. Take your time to avoid putting stress on the wall pipe. Soak stubborn buildup with white vinegar to break calcium locks. This softens old deposits and makes unscrewing much easier. Clean the exposed pipe threads thoroughly before moving forward. Remove old thread material and rusty dirt with a rag.
Preparing the Pipe Threads
A clean surface prevents future leaks behind your fixture. Scrape away old sealant leftovers using a firm plastic brush. Make sure the threaded pipe is dry before adding new tape. Any leftover moisture can compromise your watertight seal. Inspect metal threads closely for signs of heavy corrosion or cracks. Clean metal surfaces ensure a firm, leak-free connection. Always wrap thread sealant tape clockwise around the threads. Wrapping counterclockwise causes the tape to unravel when screwing on the new fixture.
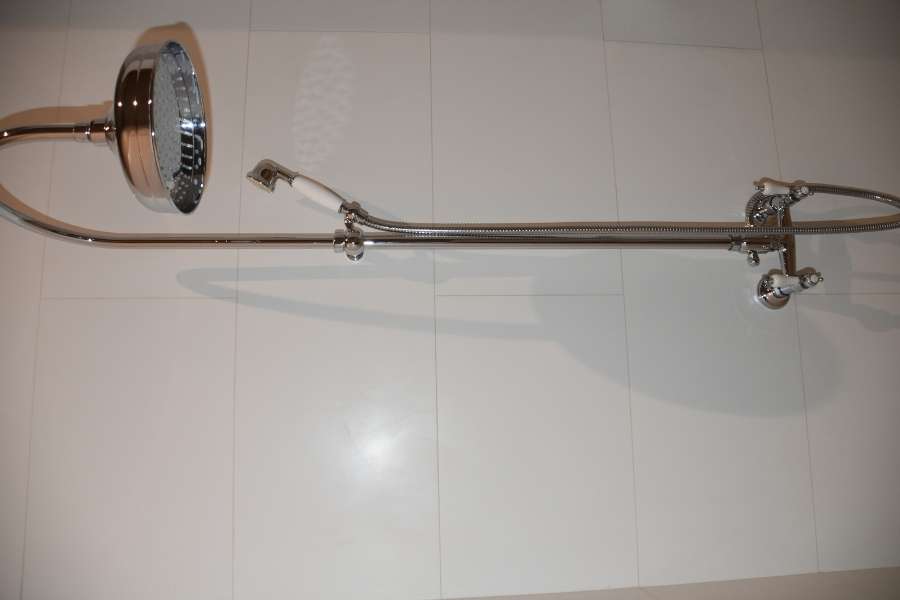
Step by Step Guide to Installing a Rain Shower Head
Mounting your fresh unit follows simple mechanical steps. Careful alignment prevents damaging delicate metal threads during assembly. Turn connections by hand first to make sure threads align smoothly. Cross-threading permanently ruins the delicate metal grooves on pipes.
Applying Thread Sealant Correctly
Learn the best way to wrap teflon tape on shower pipe connections now. Wrap tape clockwise around pipe threads three to four times. Pull the tape tight so it settles deep into metal grooves. Smooth the tape flat against threads with your fingers. This thin layer fills tiny gaps and stops frustrating drips. Good tape application guarantees a solid, long-lasting seal.
Mounting the New Shower Fixture
Align your new shower head straight onto the wrapped pipe threads. Screw the unit on clockwise using your hands first. Hand-tightening is often enough for units with rubber gaskets. Over-tightening with heavy tools can crack internal plastic parts. Use a wrench over a cloth for a final quarter-turn if loose. This secures your shower fixture firmly without scratching chrome.
How to Prevent Water Leaks When Installing a New Shower Head
Testing your setup is the final step of this project. Turn on your water slowly to check for hidden drips. Point the unit toward the floor before testing water flow. This prevents sudden splatters if water rushes through fast.
Adjusting for Stronger Water Flow
If you see drops, tighten the nut a quarter-turn more. Proper prep and careful testing guarantee a dry setup. Check all spray settings to confirm proper water distribution. A strong spray makes your quick effort completely worthwhile. Clear clogged nozzles by rubbing flexible silicone tips gently. This simple habit keeps water pressure strong and steady.
Simple Care for Long Performance
Soak your fixture faceplate in warm vinegar once every year. Vinegar dissolves tough calcium without damaging polished chrome. Simple care keeps your unit looking brand new for years. Enjoy your upgraded spray every single morning!
FAQ
Do I need a plumber to replace a shower head?
No, installing a new shower head is a simple project you can do yourself with basic tools.
Which way do you wrap thread sealant tape?
Always wrap thread sealing tape clockwise around the pipe so it stays tight when screwing on fixtures.
Why is water leaking from the pipe connection?
Leaks usually mean the connection needs more sealing tape or a slight turn with a wrench.