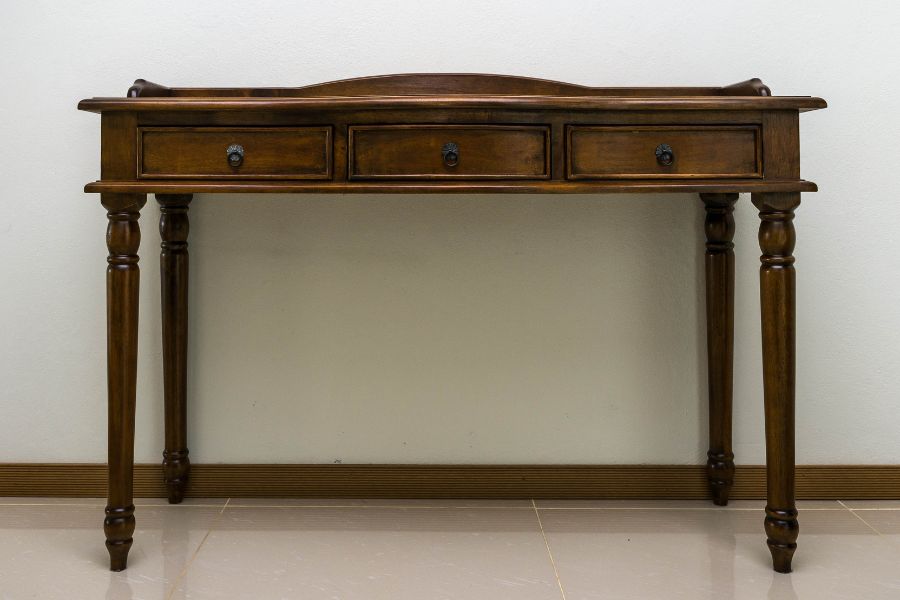
Have you ever wondered about the stories hidden beneath the worn grain of an old antique wooden table? Finding a neglected family treasure feels like unearthing a secret time capsule. Yet, that initial thrill often turns into hesitation when you spot water rings, fading finishes, and deep gouges marring the surface. The greatest fear is accidentally scrubbing away the history and character that makes the piece special.
Stripping away decades of charm with harsh chemical solvents is the ultimate sin in restoration, leaving behind a sterile, lifeless plank. Restoring vintage wood is less about starting over from scratch and more about acting as a careful conservator of history. Think of yourself as an art restorer working in a museum rather than a contractor wielding a power sander. When you learn how to restore an antique wooden table safely, you unlock the secret to balancing structural revitalization with the preservation of age-old beauty. This delicate dance requires patience, the right tools, and an intimate understanding of why that warm, burnished glow matters so much. Every single nick, dent, and faded patch tells a story about candlelit dinners, holiday feasts, and generations gathering together.
Why Preserving Original Character Beats Perfection
Chasing absolute perfection on a vintage piece is a quick way to strip away its soul and significantly reduce its value. Professional antique dealers will tell you that a mirror finish applied to a dining table completely ruins its authenticity. The term character refers to the subtle darkening of the wood and the soft rounding of edges. To maintain this authenticity while addressing structural wear, experts recommend using a gentle stripping technique instead of harsh commercial paint removers. When you need to clear away decades of grimy wax buildup without damaging the delicate wood, chemical-free solvents applied with fine steel wool work wonders.
According to master conservators, maintaining microscopic layers of aged varnish allows the natural grain patterns to breathe. Instead of treating every imperfection as a flaw that must be eradicated, look at them as visual signatures. A pristine antique table often looks suspicious, whereas one with a preserved surface feels authentic in any interior design scheme. Preserving authenticity requires immense restraint and a deep understanding of historical finishing techniques.
Without this careful approach, antique furniture loses the unique soul that makes it truly valuable to collectors. Every scratch and minor dent serves as a silent witness to decades of domestic life and cherished memories. Respecting these minor flaws ensures that the table retains its genuine historical identity and warmth. True connoisseurs always prefer a softly aged surface over an artificial factory finish that erases the passage of time.
Understanding Aged Wood Anatomy
Before you pick up a tool or apply any product, you must understand how vintage lumber behaves differently from modern boards. Old timber has stabilized over centuries, adapting to humidity changes, which makes it uniquely sensitive to harsh abrasives and moisture. When evaluating your piece, look closely at how the grain catches the light and check whether the finish is shellac or varnish. Testing a hidden spot underneath with a bit of denatured alcohol will quickly tell you if you are dealing with shellac.
Understanding wood anatomy prevents catastrophic mistakes during the cleaning and restoration phases. Different timber species react in unique ways to humidity and environmental changes over long periods. Knowing your wood helps you select the exact cleaning agents and protective oils required for longevity. Careful inspection before starting any work ensures you never compromise the underlying structural integrity of the piece. Every single board tells a story of forest growth and masterful historical joinery techniques. Identifying these subtle characteristics allows you to approach the restoration process with absolute confidence and professional precision.
- Identify the wood species, whether walnut, mahogany, oak, or cherry, as each reacts differently to conditioning agents.
- Inspect the joinery for looseness, checking if old hide glue has failed over decades of seasonal shifting.
- Assess the depth of surface discoloration to determine whether a full strip is necessary or if a simple cleaning will suffice.
- Examine the edge profiles for signs of historical hand-planing and wear patterns that indicate genuine antiquity.
- Check for any insect activity or historical repairs that might require specialized stabilization before finishing.
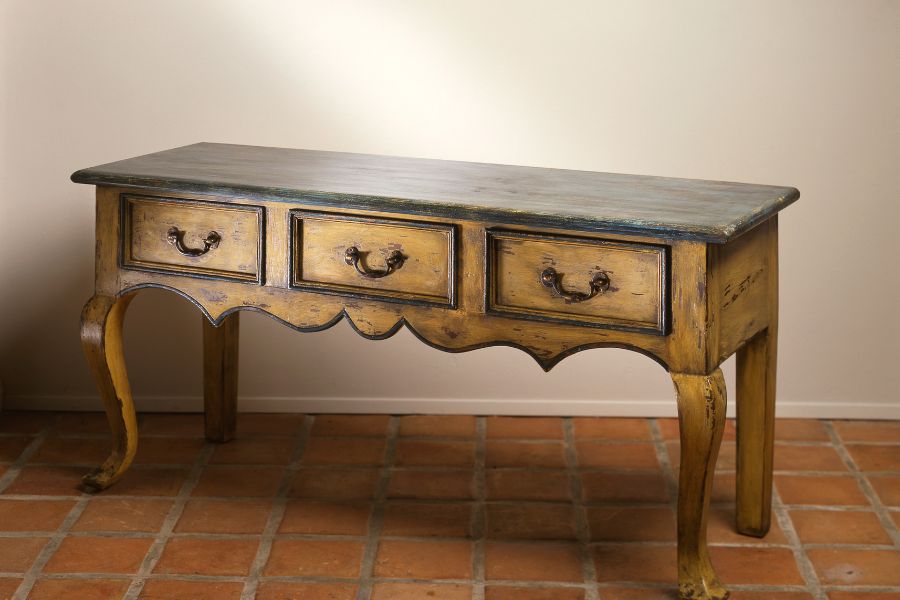
Step by Step Restoration Methods
Tackling the actual restoration demands a methodical approach that prioritizes minimal intervention at every single stage. You want to clean away the dirt of ages without altering the color or texture beneath. When dealing with unexpected household issues during your weekend DIY projects, having reliable maintenance guides like an emergency household running repair checklist helps keep your entire domestic environment running smoothly.
Start by washing the surface with a mild solution of Murphy Oil Soap or specialized cleaner to lift decades of grease and grime. Never soak the wood with water, as excess moisture can swell the grain and cause traditional glues to fail instantly. Once the table is dry, you can evaluate the true state of the finish and decide which targeted repairs are necessary. For deep cleaning and minor blemish reduction, applying a nourishing wood conditioner helps rehydrate parched fibers that dried out in heated modern homes. This step brings back rich tones without darkening the wood uniformly like a stain would, ensuring that natural variations remain visible. Taking your time during this cleansing phase prevents unnecessary damage to delicate historical layers. Every wiped section reveals more of the original craftsman’s subtle hand-rubbed texture and deep coloration.
Cleaning and Preparing Timber
Cleaning vintage timber is an art form that requires patience, gentle hands, and the right non-toxic solvents. Scrubbing too hard can strip away the precious patina that took centuries to form naturally under indoor conditions. Always test your cleaning solution on a tiny, hidden underside area before applying it across the entire tabletop. Soft cloths and gentle circular motions lift surface grime effectively without scratching the delicate underlying varnish layers. Once the grime is gone, let the wood air dry completely before attempting any further repair steps. This preparation phase sets the foundation for a successful, historically accurate restoration project from start to finish. Proper cleaning brings out the natural chatoyancy and depth hidden beneath layers of old wax and dust.
Addressing Blemishes and Scratches
Surface scratches are an inevitable part of owning functional antique furniture, but they are surprisingly easy to remedy without aggressive sanding. If you are wondering how to fix deep scratches on antique wood, the answer lies in localized repair rather than stripping the entire tabletop. Use a sharp cabinet scraper instead of sandpaper for leveling raised grain or shaving away failing finish layers with precision. Select the appropriate sandpaper grit, typically ranging from 320 to 400 ultra-fine, to feather in repairs only where the original finish has worn away. Apply a tinted wax stick that matches the surrounding wood tone to fill deep gouges before sealing the area. When dealing with missing decorative elements, veneer repair becomes essential for maintaining structural integrity and visual continuity. Carefully injecting hide glue beneath loose veneer bubbles and weighing them down ensures the outer layer stays secure. Localized repairs maintain the historical integrity of the piece while fixing cosmetic flaws that distract the eye. Every repaired scratch becomes a seamless part of the table’s long and storied visual narrative.
- Use a sharp cabinet scraper instead of sandpaper for leveling raised grain with precision.
- Select ultra-fine sandpaper grit to feather in repairs only where finishes have worn away.
- Apply tinted wax sticks matching surrounding wood tones to fill deep gouges securely.
- Inject fresh hide glue beneath loose veneer bubbles to restore structural stability.
- Clamp repaired veneer sections gently overnight to ensure a permanent, flush bond.
Nourishing and Protecting Your Restored Heirloom
Once cleaning, scraping, and minor touch-ups are complete, the final phase focuses on sealing the wood against future wear while enhancing its natural luster. Avoid modern polyurethane coatings that create an artificial plastic barrier, and instead opt for traditional finishing materials. Mass-market retail products often contain silicones that trap moisture and ruin antique finishes, which is why sourcing the best products for vintage furniture restoration is critical. Look for formulations designed specifically for antique conservation, prioritizing traditional ingredients that respect original craftsmanship. To lock in moisture and provide a soft, satin sheen that feels silky, working a high-quality beeswax polish into the grain is the gold standard. Beeswax creates a breathable, protective barrier against accidental spills while deepening the natural warmth of the wood tones. For tables that see heavy daily use, finishing the surface with a pure natural oil finish like polymerized tung oil provides deep, durable protection from within. Unlike surface films that scratch and peel, penetrating oils cure inside wood pores, creating an authentic, hand-rubbed finish that improves with age. Proper nourishment ensures your heirloom survives for many more generations of joyful family gatherings.
Frequently Asked Questions
Can I use a power sander on an antique wooden table?
Never use a power sander on an antique wooden table, as it removes the aged surface layer, obliterates the patina, and can burn through thin veneers.
How often should I apply beeswax polish?
You should apply beeswax polish every six to twelve months, depending on home humidity and how frequently the table is used for dining.
What is the best way to remove white water rings?
White rings indicate moisture trapped in the wax; you can remove them by gently buffing with equal parts white toothpaste and baking soda.